Emergency electricians are there for a reason. In fact, the name speaks for itself. These professionals are best at dealing electrical problems at any time of the day or night. There’s no such thing as an electrical emergency that’s too small or too big. At the very moment that you have an electrical emergency in your home, you should contact professional help at once. Doing so, you are avoiding greater risks including a fire breakout and other hazards involved in electrical problems.
A power crisis in the home needs to be dealt with smoothly but economically. By a crisis, we talk about a fire resulting from short-circuit or an equipment that is over-heated or part of cabling. Over-heating cables and short-circuits May quickly become shoots, as well as the fireplace, may expand really quickly if something isn’t done about it instantly. Call your nearest emergency electricians for fast and reliable service.
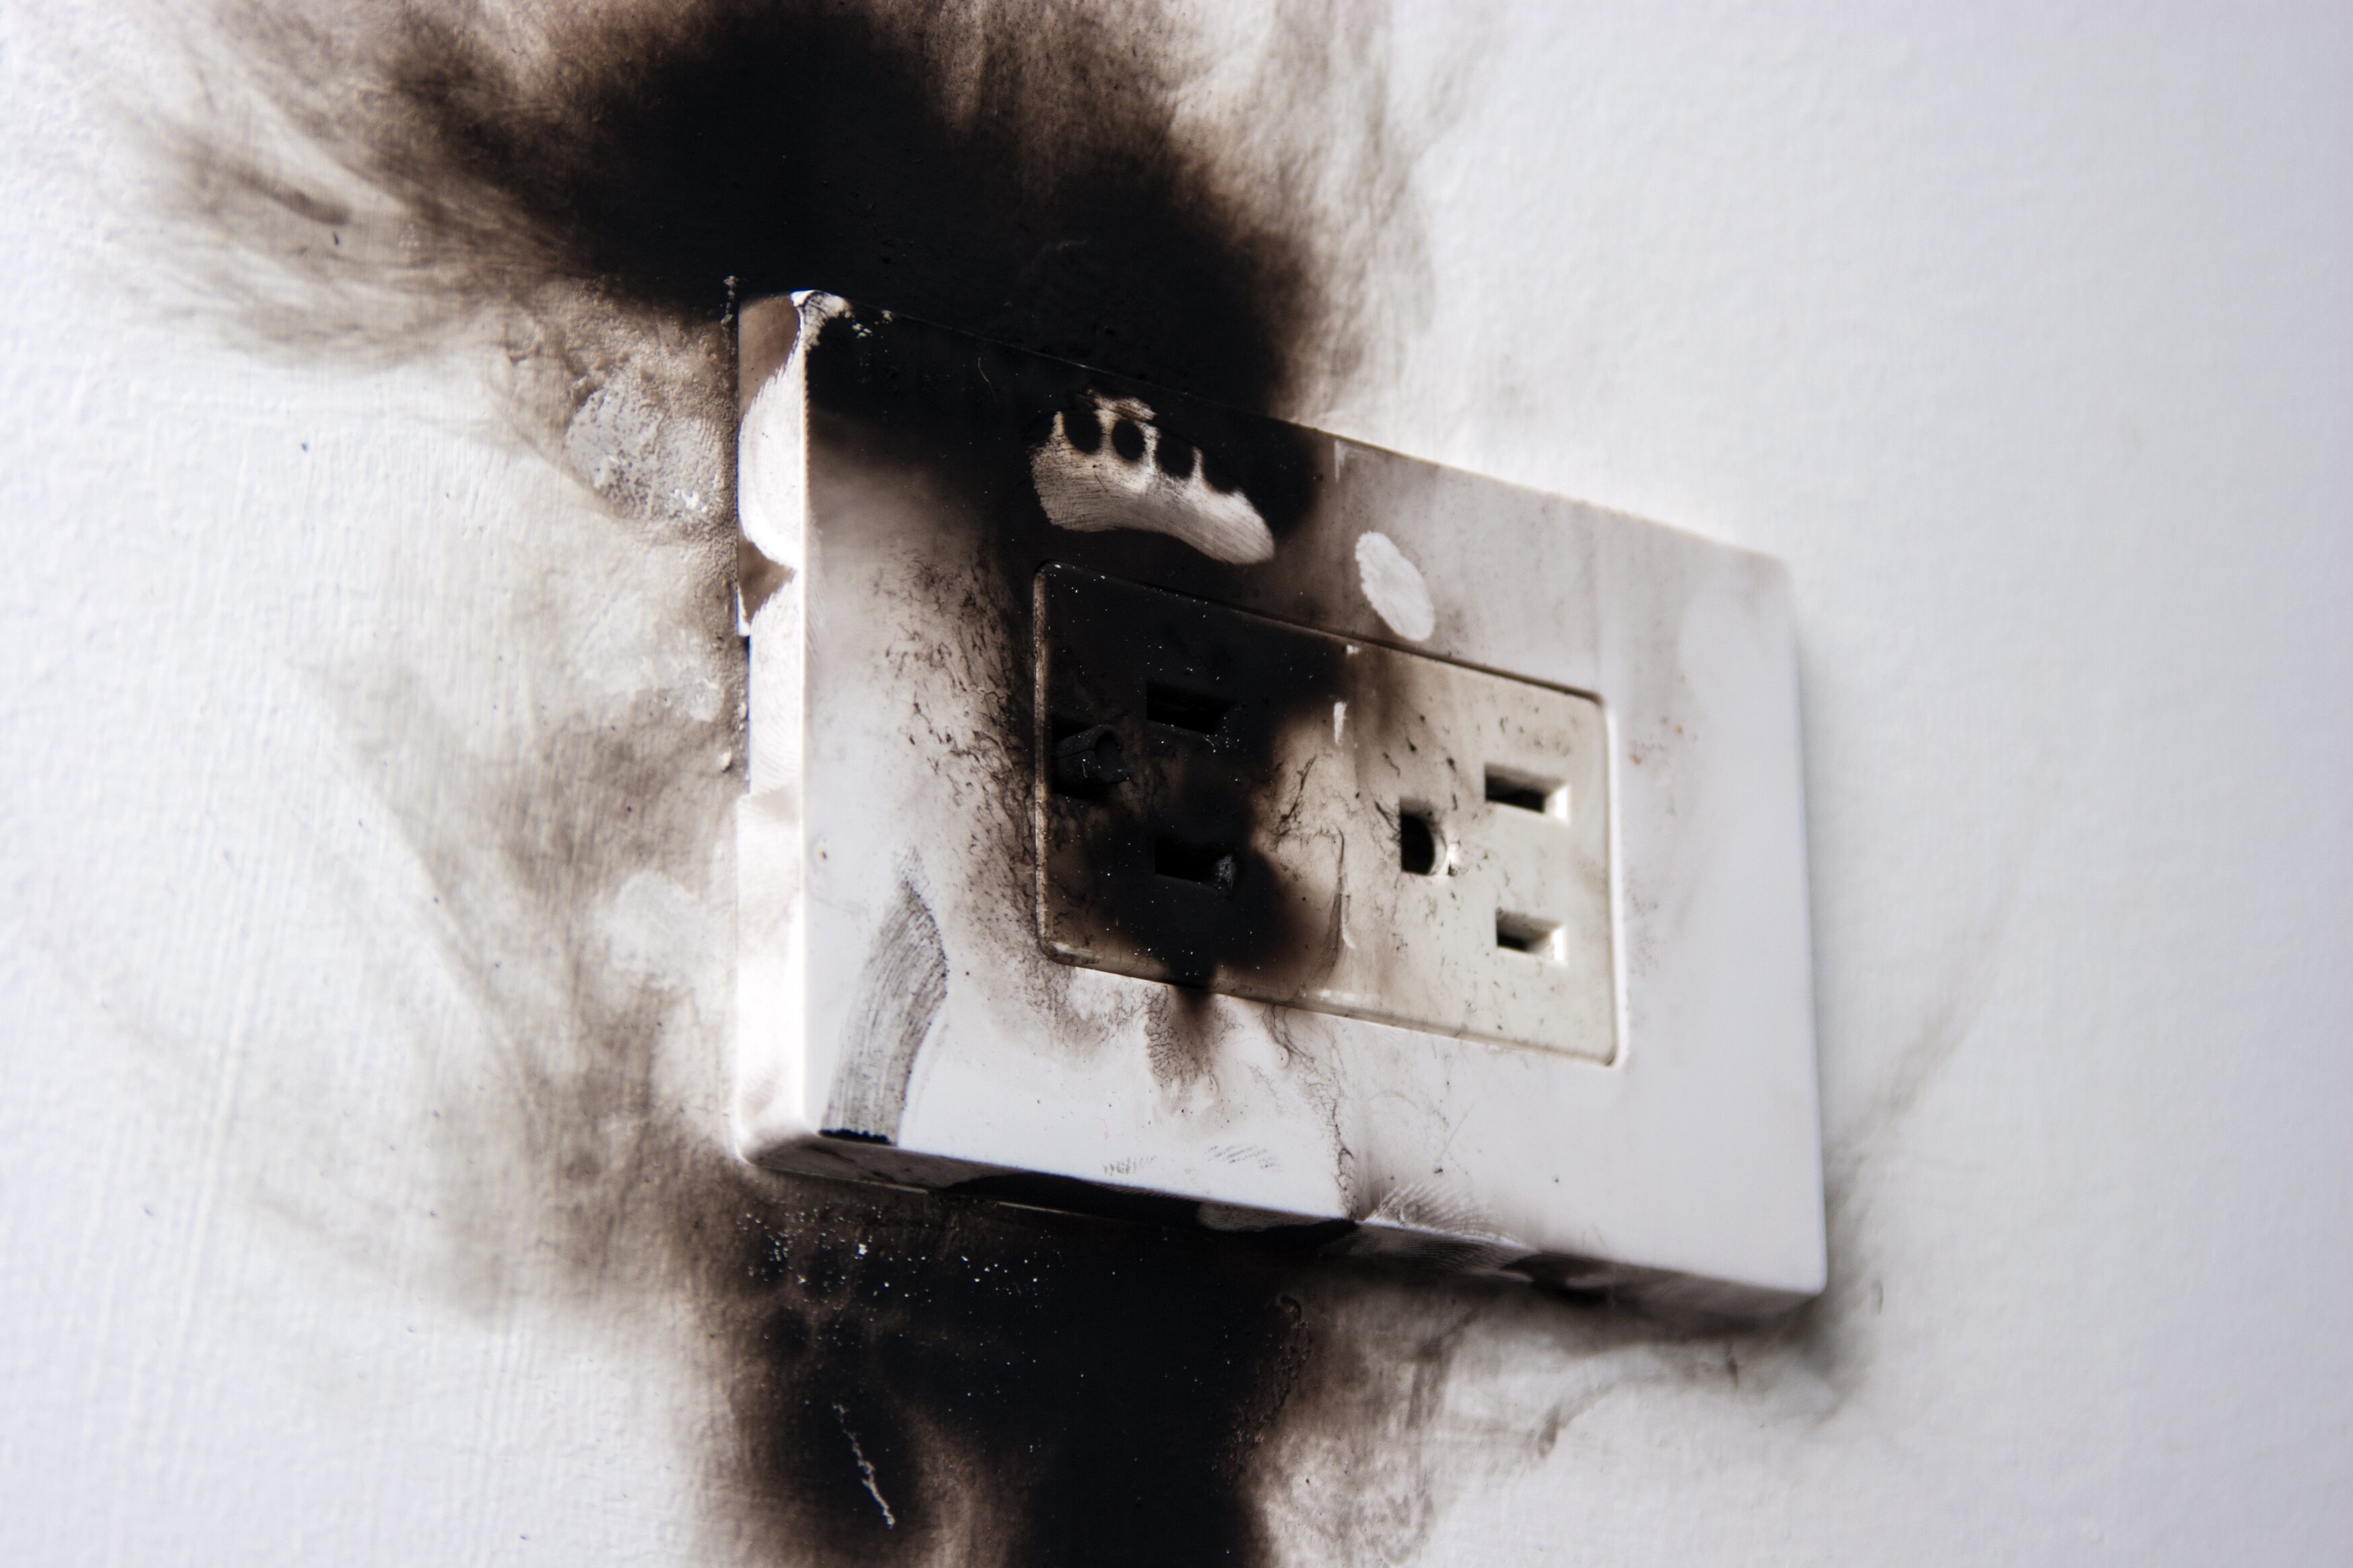
First thing when you notice smoke coming from the wall or an outlet to do would be to phone the fire department. In the event the issue is big and you’re just seeing the tip of the iceberg it’s important to allow them to be to your house before matters escalate into turmoil and actual risk.
If fireplace or electricity is behind it, you don’t understand. It is possible to be severe damage if either exists. Therefore step aside, nor permit anybody to come near the supply of smoke or sparks. Have everyone uphold the contour at which it is possible to observe them and leave the home in an organized manner and be certain everyone is outside.
 Get back through the entry that’ll get you nearer to the key routine box to your house. Carefully open it and verify to find out whether there’s absolutely no smoke or sparks via it. Smoke via it or whether there are discharges shut the routine box door and leave the home instantly. Await the firefighters to care for the scenario. If everything is standard throw-off all circuit-breakers that are extra and the primary routine.
This can enable the dissolved cables to cool-down and may slice the circulation of electricity where the short circuit happened if a fire hasn’t begun. It’ll get rid of the chance for other short circuits giving the hearth or beginning shoots elsewhere behind the walls if the fire has begun. Shut the signal box door and leave the home. Wait to get there and assess your home for risk.
You should really have a chemical fire extinguisher accessible in the kitchen, notably in the residence. Tend not to utilize water to make an effort to put a power hearth out. For no reason are water to toss on this sort of fireplace since you won’t set away from it, it is going to allow it to grow warmer and bigger. Electric shoots are released with substance froth which permits it to set off and slashes the air provide to the hearth.
It’s necessary that you truly have emergency electricians check devices and all of the wirings in your own home after an emergency of the sort. Warmth weakens and misshaped the plastic defense on cables; you haven’t suffered any harm and has to make certain that every one of the cables in the walls has been in ideal conditions. You might find yourself phoning the fireplace division again soon, in the event that you don’t.